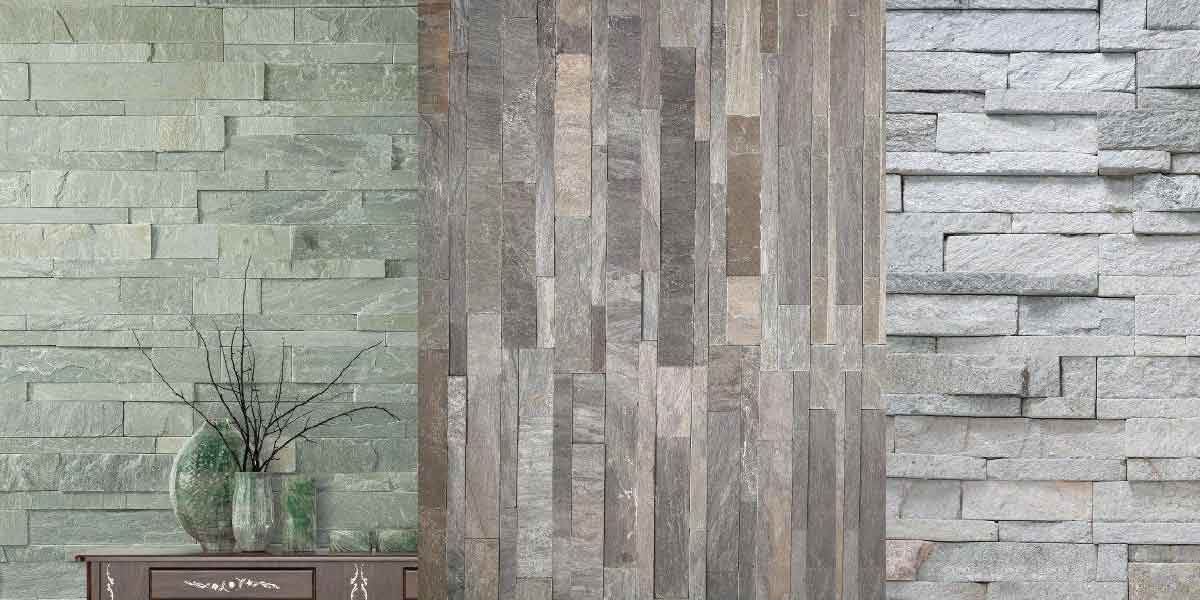
Stone veneers are one of the most trending building materials right now. Though man-made, stone veneers look just like natural stone. The biggest benefit is that it’s available for a fraction of the price. Highly versatile, stone veneers are used for a wide range of applications – feature walls, bedroom accent walls, bathrooms, living rooms, kitchens, puja rooms and more.
Not just inside the house, stone veneers are used in a wide range of exterior applications like patios, verandahs, outdoor walls, and more.
While stone veneers are easy to install and easy to maintain, improper installation could lead to frequent repairs and breakages. Here, in this week’s guide from Slateskin, one of the leading stone wall cladding suppliers in India, we offer you the A-Z of repairing stone wall veneers.
Are you worried that you’ll need plenty of professional-quality tools to repair a broken stone cladding wall? Fret not, the process is quite simple and you can carry it out on your own, even if you have minimal DIY expertise.
Let’s start by taking a look at the tools needed:
Now that you’ve gathered the required things, the next step is to roll up your sleeves and get into action.
Let’s say, parts of your stone cladding wall have popped out from their original position. Start by driving wedges between the stable stones to remove the popped out tiles. While removing the loose stone veneer blocks, make sure not to dislodge the nearby stable stones. Here’s a handy tip – drive the wedges into the wall with extra force to pop out the broken stone veneer tiles without damaging others.
Now that you have removed the chipped stone veneer tiles, you can spot empty cavities on your walls. Here, at Slate Skin, we always recommend our customers to purchase a few extra pieces of stone veneers during installation. Store the extra pieces carefully in a cupboard or loft. You can use them as replacement pieces when stone veneers chip later.
Wondering why you should purchase a few extra stone veneer tiles? This is because finding the same tile years later may be difficult. When you have extra tiles at home, you can easily replace the broken ones with the same style of veneers.
Apply a layer of concrete or other adhesive to the back of the replacement tile and wedge it in the empty cavities. Press down firmly with the wedge and you’re replaced the wall.
What to do if an entire section of the wall is damaged? This takes a few more extra steps. Continue reading to find out.
As mentioned above, start by removing all the broken tiles. Once you have removed all the tiles, mark the borders of the wall with marking chalk. Use the chalk to number the replacement stones in order, so that you can fix them in the original pattern.
Work within the marked lines to chisel away any leftover mortar. Chip out flaky mortar using a small sledgehammer.
The next step is to prepare new mortar to attach the new tiles. Fill a mortar bag with the prepared mortar and squeeze it in between the tile joints.
Use the numbering on tiles to arrange the tiles in order on your wall. Pack each joint between adjacent tiles with the freshly prepared mortar. Make sure to spread a thin layer to the back of each stone veneer tile, so it adheres firmly to the wall. Push the stone veneer tiles firmly into the wall and pack it with mortar on all sides.
Once dried, chip away extra mortar and tool it to match the original sections of the wall.
That’s it. You’re done. We hope this guide gives you the confidence to handle repairs and replacements to your stone veneer walls on your own. If you need any more expert advice, all you have to do is get in contact with our team here at Slateskin, premium stone cladding manufacturers in India. Our team will help you with all your queries.